Drywall Repair in Waldorf, MD
Willett Drywall repairs damaged walls and ceilings throughout Waldorf, MD and Charles County—holes, cracks, dents, impact damage, nail pops, failed seams, water-stained areas, and previous poor-quality patches. The goal is always a flat, seamless surface that disappears once painted, whether the fix is a small localized patch or a full panel replacement.
Professional Drywall Repair Near Waldorf, MD
Drywall repair restores damaged wallboard to a flat, paint-ready condition. The work ranges from filling a small puncture to replacing an entire panel, and the right approach depends on what caused the damage and how large the affected area is. A hairline crack above a doorframe, a doorknob puncture in a hallway, and a water-stained ceiling each call for a different method—surface patching, reinforced patching, or full panel replacement.
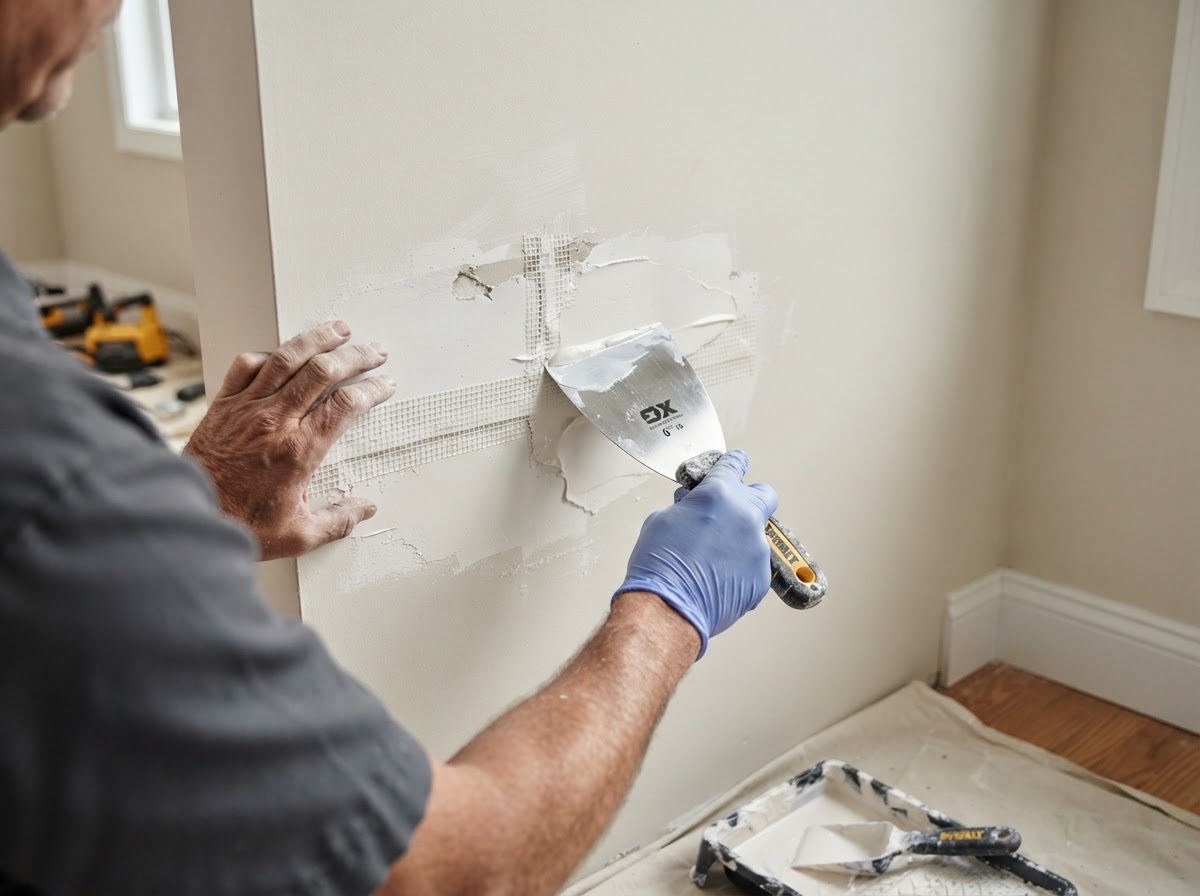
The key distinction in drywall repair is between localized repair and panel replacement. Localized repair treats a contained area: a hole is backed with solid material, taped, and feathered out with joint compound until it blends with the surrounding wall. Panel replacement is used when damage is widespread, when the board is structurally compromised, or when previous patchwork has left the surface uneven. Choosing correctly keeps the repair durable and avoids layering new compound over a problem that will resurface.
Repair also has to respect the cause of the damage. A crack that keeps returning, a seam that fails repeatedly, or water-stained wallboard each point to an underlying issue—framing movement, loose fasteners, or an active moisture source. Cosmetic repair can restore the surface, but recurring or widespread damage may need the underlying cause addressed first. In Waldorf homes, repair work commonly follows settling, impacts, plumbing or electrical access, and moisture events.
When This Service Is Needed
Common situations where drywall repair is the right call for Waldorf-area property owners.
- Holes from doorknobs, furniture impacts, or accidental punctures
- Cracks above doors, windows, and along ceiling-to-wall transitions
- Dents, dings, and surface gouges in painted walls
- Nail pops and loose fasteners showing through paint
- Failed or separating seams and tape
- Water-stained or softened wallboard after a leak
- Previous poor-quality patches that no longer blend
Common Drywall Damage We Repair in Waldorf, Maryland
Drywall damage takes many forms, and each one calls for a specific repair method. The categories below describe the damage Waldorf property owners most often ask us to fix.
Holes & Punctures
Doorknob impacts, furniture bumps, and accidental punctures leave openings that need solid backing, tape, and feathered compound to restore a flat surface.
Cracks
Hairline and settlement cracks appear above doors, around windows, and along ceiling transitions. Recurring cracks may point to framing movement that needs attention before cosmetic repair.
Dents & Surface Gouges
Shallow dents and gouges in the paper face are filled and sanded smooth, then blended into the surrounding finish so the repair disappears under paint.
Nail Pops & Loose Fasteners
Raised fastener heads show through paint as small bumps. The board is re-secured to framing and the area is re-finished so the pop does not return.
Failed Seams & Tape
Separating tape and cracked seams are cut back, re-taped with fresh compound, and feathered out to rebuild a seamless joint.
Water-Stained & Soft Drywall
After the moisture source is corrected, stained or softened wallboard is cut back to solid framing and replaced so the repair is built on sound material.
Recurring cracks, repeated seam failure, or widespread water staining can indicate an underlying issue such as framing movement or an active leak. In those cases the source should be corrected before drywall repair is completed, otherwise the damage is likely to return.
How Drywall Repair Is Completed Near Waldorf, MD
Every repair starts by identifying the full extent of the damage, then follows a sequence built around that specific problem. The steps below describe a typical repair, though small patches use a condensed version of the same workflow.
Damage Assessment
We inspect the affected area to determine whether a localized patch will hold or whether panel replacement is needed. For cracks and seams, we check whether the damage is recurring.
Why it matters: Choosing the right repair method prevents the same damage from returning shortly after.
Surface Preparation
Loose paper, failed tape, and crumbling compound are removed. The area is cleaned back to solid material so new compound bonds to a stable surface.
Why it matters: New compound over loose material will crack and lift, undoing the repair.
Backing & Reinforcement
Holes receive solid backing—wood blocking or a backing patch—so the repair has structure. Cracks may be grooved and re-taped with reinforced tape.
Why it matters: Reinforcement gives the patch something to bond to and resists future movement.
Taping & Compound
Tape is embedded in compound over the repair, then successive feathered coats are applied with wider blades to taper the fix into the surrounding wall.
Why it matters: Feathered coats create a gradual transition that disappears under paint.
Sanding & Texture Matching
The repair is sanded smooth under side lighting. If the wall has texture, the surrounding pattern is matched so the patched area blends with the rest of the surface.
Why it matters: Texture matching is what makes a repair visually disappear on textured walls.
Paint-Ready Hand-off
The repaired surface is left clean, flat, and ready for primer and paint. The work area is cleaned up so the space is usable again.
Why it matters: A paint-ready surface means the repair is complete and ready for the finish coat.
Why Repair Quality Shows Up After Paint
Drywall repair is easy to underestimate because a fresh patch looks finished before paint goes on. The real test comes with primer and a finish coat, especially under natural window light, recessed lighting, or semi-gloss paint. That is when a rushed repair reveals itself—a visible hump where compound was piled too thick, a sunken patch where backing was insufficient, a flashing seam where tape wasn't fully embedded, or a texture mismatch that stands out against the surrounding wall.
Quality repair is built on proper joint preparation, solid backing, and feathered compound tapered out wide enough to read as a continuous surface. Sanding under side lighting catches tool marks before they become permanent, and texture matching closes the gap between the patched area and the existing finish. When these details are handled, the repair disappears under paint. When they are not, the patch becomes a permanent eyesore that no amount of paint will hide.
Holes and large patches are backed with solid material so the repair has structure and won't sink or crack.
Successive coats are tapered out wide so the repair reads as a continuous surface, not a visible patch.
Tape is fully embedded in compound to prevent lifting, cracking, and flashing seams after paint.
Existing texture is matched so the repaired area blends with the surrounding wall or ceiling.
Related Drywall Services
Drywall repair overlaps with several specialized services. If your damage involves a specific problem, these pages explain the focused approach for each one.
Specialty Repairs & Finishing
Targeted long-tail drywall services that fall under this category:
Questions About Drywall Repair Near Waldorf, MD
Need Drywall Repair in Waldorf, MD?
From holes and cracks to failed seams and water-stained ceilings, Willett Drywall restores damaged walls to flat, paint-ready condition throughout Waldorf and Charles County. Call 240-448-6692 or request an estimate to discuss your repair.